How do I share my calendar with another user?
To share your calendar, open your calendar in a web browser, click the Share icon, add the user's email address, set their permission level, and save. The user will receive an email invitation they must accept before your calendar events become visible to them.
From your calendar in the web browser, select the “Share” icon seen here:
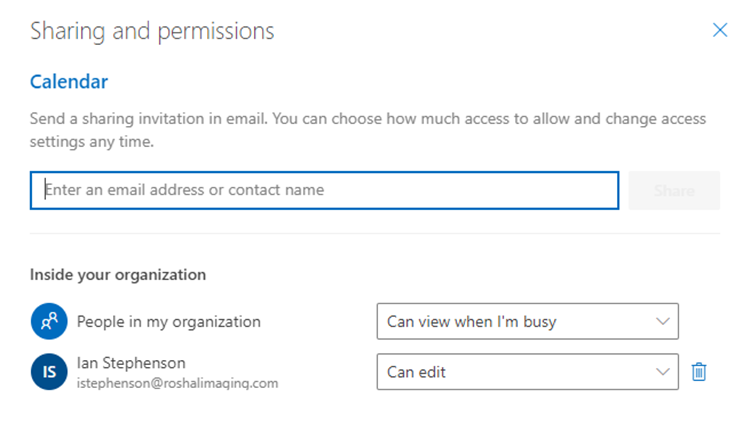
This opens the calendar sharing dialog, where you can add new users and view who already has access:
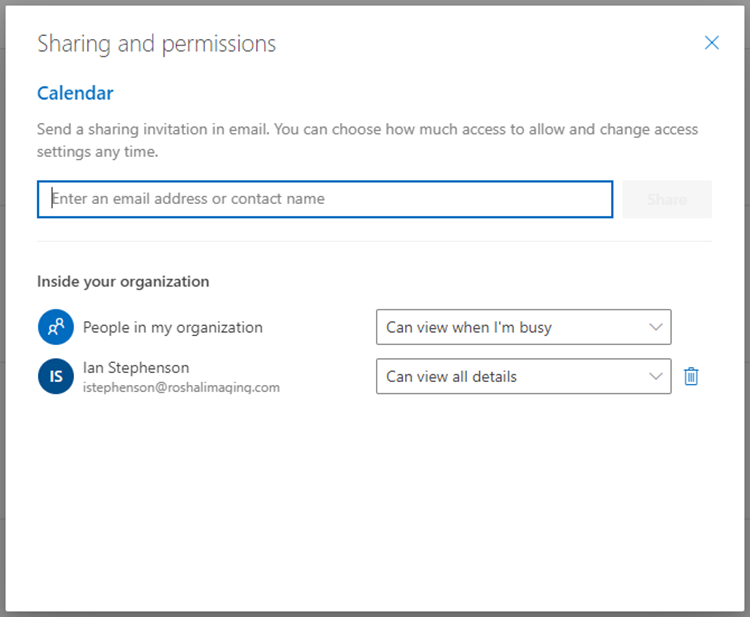
You can add any users inside or outside of Roshal Imaging, however, users outside of Roshal Imaging will not be able to manage sharing permissions (delegation) on your behalf.
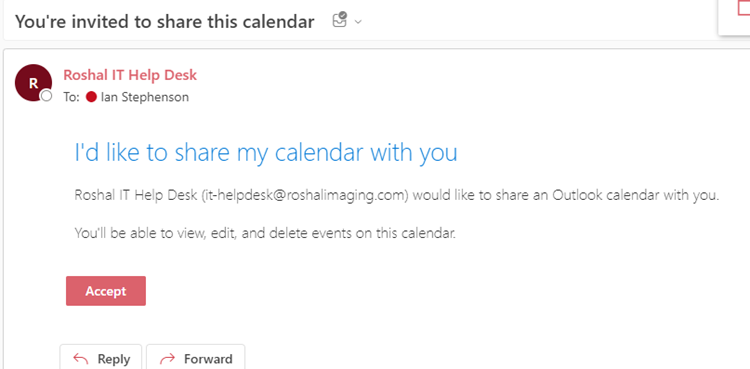
The invited user will receive an email notification confirming they have been granted access. They can accept the invitation by clicking the link in the email:
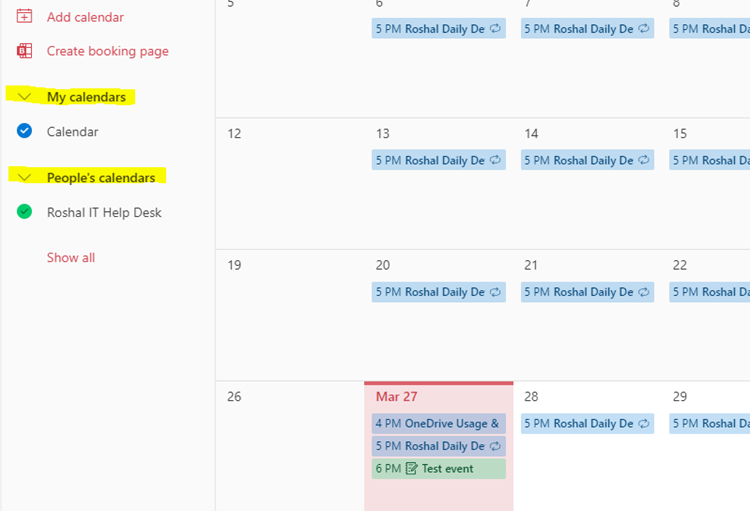
After accepting, the shared calendar events — such as the Roshal IT Help Desk calendar — will appear alongside your personal calendar events. The system marks them in different colors, shown in the left panel of the image below:
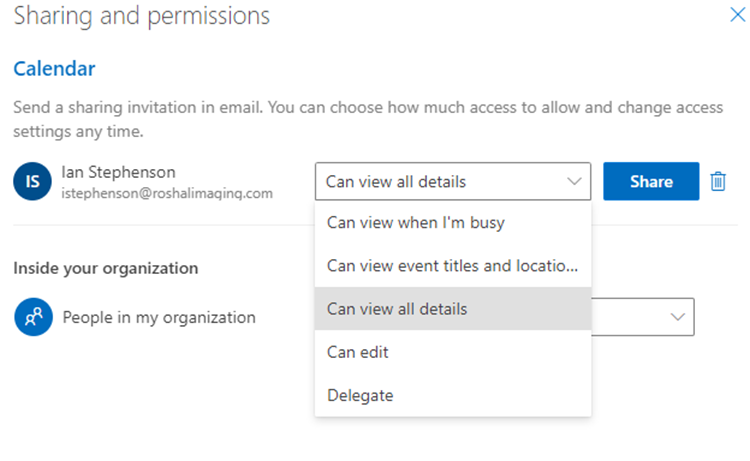
You can also update permission levels or remove a user's access at any time. To do so, select the Share button again, then adjust or remove the user as needed. The available permission levels are:
- See only free/busy (hide details) – Others can see when you are busy but cannot see event titles or details.
- See all event details – Others can view the full details of your calendar events.
- Make changes to events – Others can add, edit, and delete events on your calendar.
- Make changes and manage sharing – Others have full control, including the ability to share your calendar with additional users.